Getting clear audio begins with testing your microphone on Windows 10 or 11 before going live.
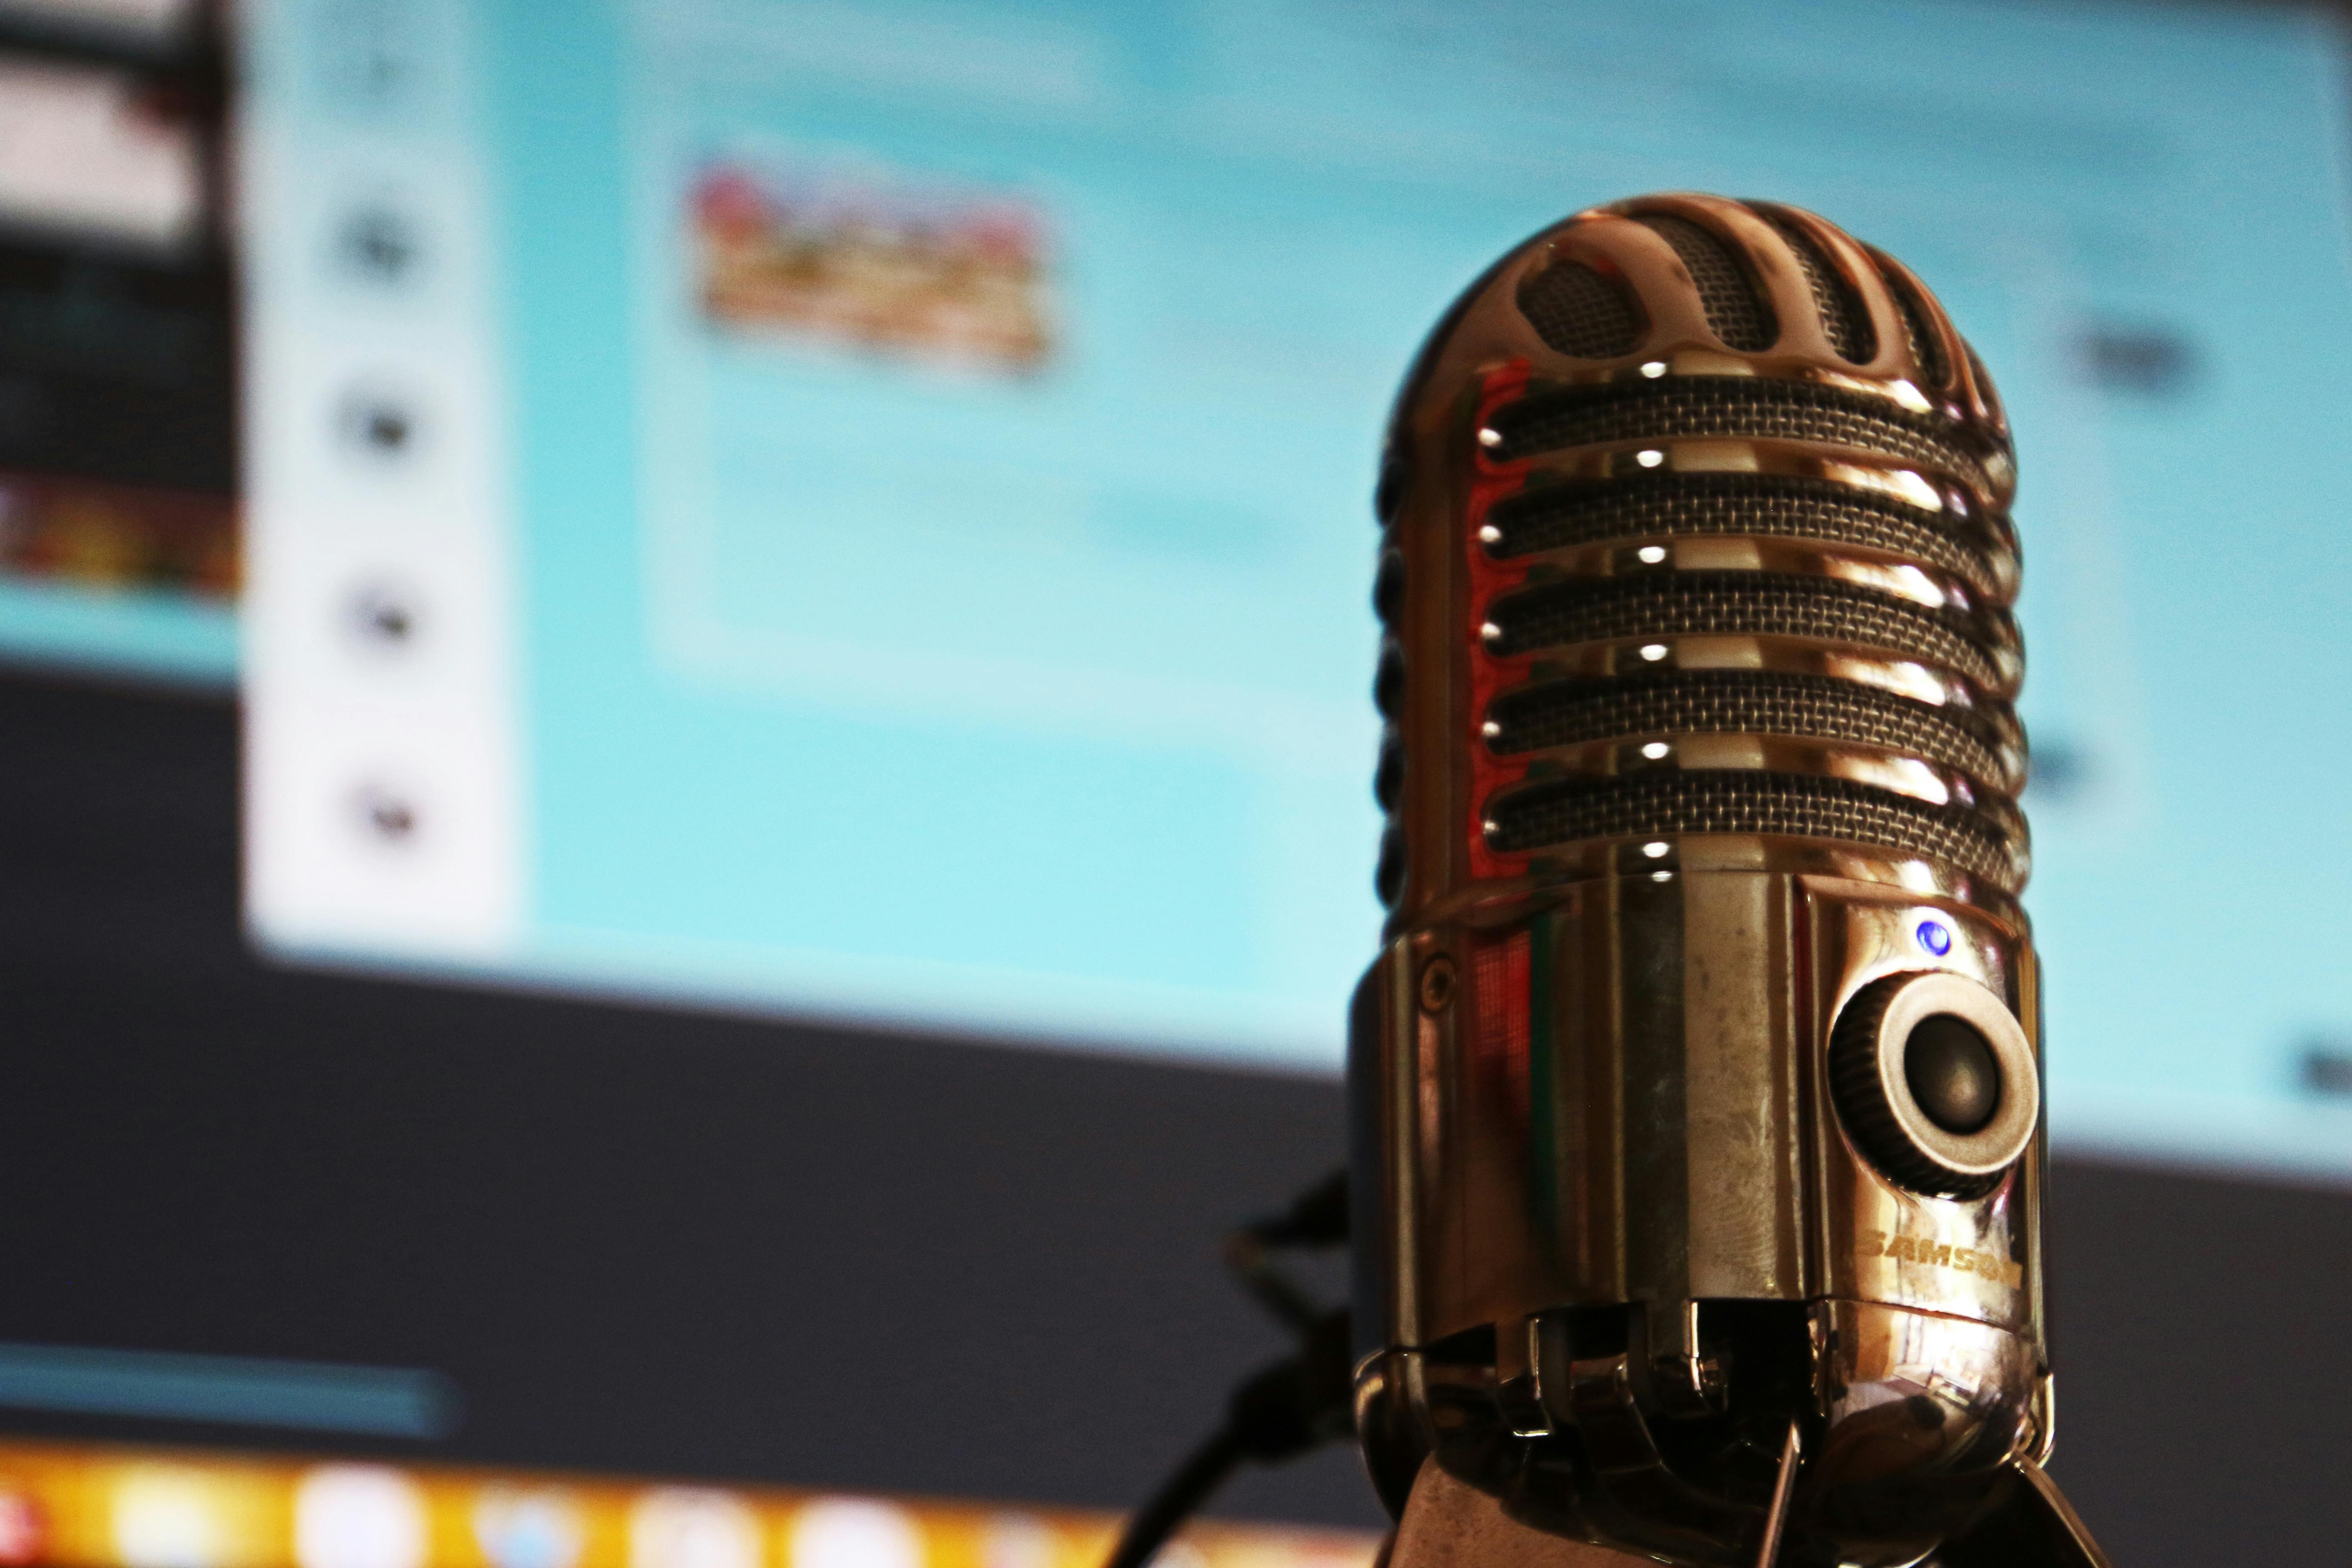
For any webinar or conference call, having your call tech in top-top shape ensures solid and clear communication. To ensure crystal clear audio for your webinar, you need to know how to test microphones on Windows 10 and 11.
Studies show poor audio quality can become a credibility killer for a company. When people hear a garbled mess instead of crystal-clear audio, they also tend to think lowly of a speaker’s credibility. Even if there’s a video involved, lousy audio still puts a damper on things.
Plus, if audio quality takes a nosedive, listening becomes a struggle, causing your audience to tune out and possibly even leave the call.
That is why having a solid audio game should be a priority in your conference calls and webinars—and that begins with knowing how to check your microphone. Windows 10 and 11 operating systems offer simple ways to do it.
Key Takeaways:
- A good audio setup of connected microphones ensures clear audio from the start of the webinar down to the last second.
- Always go to the Sound Settings for Windows 10 and 11 when testing your microphone.
- Don’t panic if the microphone doesn’t work right away. You can troubleshoot it yourself.
Make seamless webinars today!
The Importance of a Good Microphone Setup
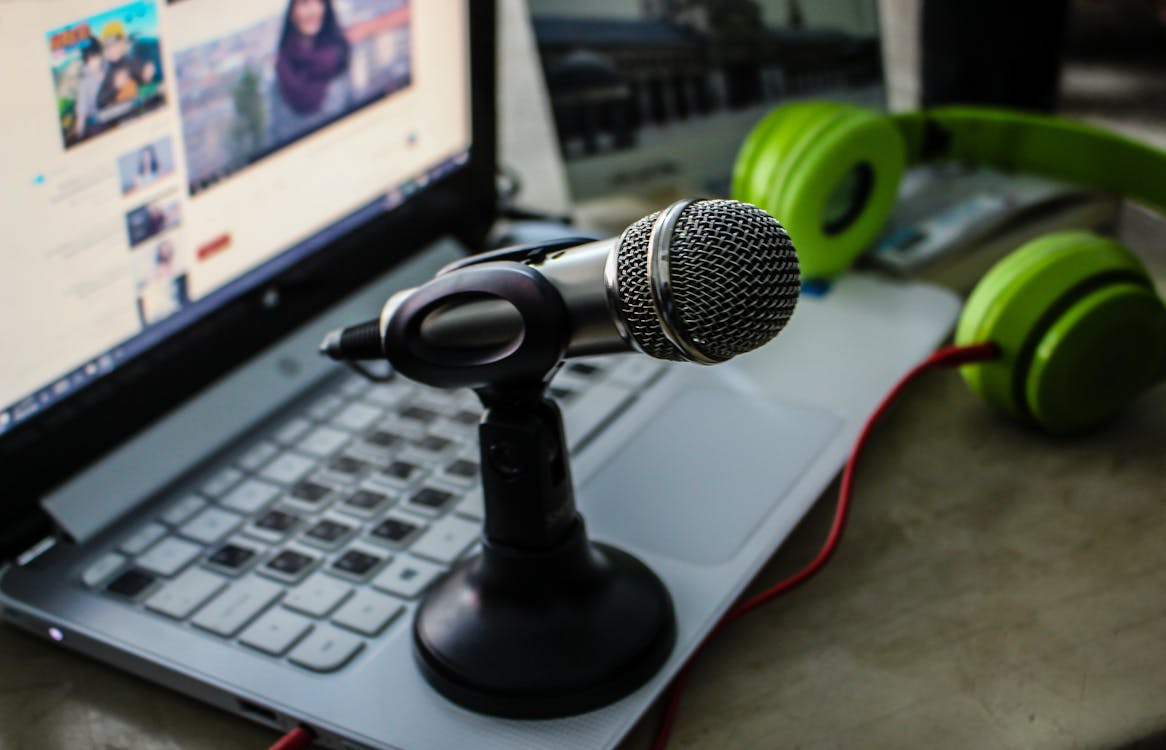
Your microphone is an essential part of your audio toolkit. Whether it’s your basic computer mic, a fancy external one, or even a mic-packed device, it can shape how your audio sounds — from that annoying echo to the dreaded tin-can vibe.
However, there are plenty of ways that your input device can go awry. You might start hearing echoes when the host talks, which happens when your computer’s speakers are making noise and your microphone is picking it up.
There might also be some annoying background ambient noise, messing up your event’s sound quality and driving your attendees up the wall. Sometimes, you can’t even hear the person speaking. At other times, the sound may become too spotty due to a sluggish internet connection.
Hence, testing and troubleshooting your microphone before your conference or webinar is essential. Here’s how to test audio devices on Windows 10 and 11.
Test Your Microphone on Windows 10
Testing your microphone with the built-in microphone test tool in Windows 10 makes sure you’ll get clear audio recordings and avoid poor sound quality. This lets you check if the mic is properly connected before you can record and join calls.
Follow this step-by-step guide for using the mic test tool.
- Go to your Settings: Click the Start menu and choose Settings.
- Head to Sound: After getting into Settings, click “System” and go to the “Sound” section.
- Choose Input Microphone: Under the “Input” section, choose the mic you want to test. If the mic is a Bluetooth device, make sure it’s already selected and paired with your computer.
- Check Input Level: If the input volume bar moves as you speak, it means the mic is working fine.
Use an online mic test as an alternative if you don’t find the need to open Settings.
Try everything. Pay nothing. See how StealthSeminar features help you get more leads.
How to Test Your Microphone on Windows 11
If you’re using Windows 11, you know it has a built-in tool for the microphone test. Simply do the following steps to test your microphone:
- Click on the Start menu, then click “Settings.”
- In Settings, go to “System,” and from there, go straight to “Sound.”
- Find your microphone in the “Input” section and click on it.
- Look at your mic’s properties by clicking the “Properties” menu. There’s a slider for input volume; drag the input volume slider upwards or downwards to get your microphone volume just right. Also, make sure the audio format settings are to your liking.
- Hit the “Start test” button.
- Chat into your microphone for a few seconds, then press “Stop test.”
If your mic’s on point, you’ll see a result percentage next to “Start test.” The resulting value should be around 75%. If you’re coming in low, just increase the input volume settings.
Troubleshooting Your Microphone Issues

A bunch of stuff can make your Windows 11 microphone act up. But before you dive into troubleshooting, start with the basics, especially if you’re using a wired mic.
Here are the things you can do to make your microphone work:
- Double-check that the mic is snugly plugged into your PC. There is no need to go down the rabbit hole of other fixes when all you need is a good old connection check before hitting the recording tab.
- Check if your mic is muted in the microphone settings.
- If it’s still not working correctly, install Windows updates. Make sure you’re running the latest version of your operating system.
- Install the latest microphone driver using the microphone setup wizard. You might need to use an updated one.
- Make sure you’re using the right mic as the active input device. Enable it under Windows settings and set it as the default device.
- Run the Windows 11 troubleshooter.
- Restart Windows Services or services.msc.
If your microphone doesn’t work after a Windows 11 update, it’s because apps lack permission. To fix this, go to Settings and turn on Microphone access.
Follow the steps above to get clear and reliable audio in your online meetings and webinars. Using the correct microphone and performing a mic test can be instrumental in delivering a professional and engaging webinar experience to your audience.
Test Your Microphone for Clearer Audio Today
Testing your microphone on both Windows 10 and Windows 11 is important to get clear audio during webinars. Whether it’s a built-in mic, a Bluetooth microphone, an external headset, or a few pieces of USB microphones, microphone testing helps you catch issues early before they get worse. Take some time to see if your mic is connected and properly configured before going live.
